So I would never say that I am the crafty type or that I can come up with awesome projects but the other day we were putting up the garland on our staircase and I decided that I would try and tackle making some bows to put up with the garland. Now I wish I could take the credit for making up this bow but I can't. I also cannot find for the life of me the site that I found the directions on. So I hope my instructions are easy enough to follow. It didn't take me very long to make these. All you need is some ribbon (I used wired ribbon I haven't tried it with regular ribbon), scissors, glue gun, and your two hands and maybe some kind of ruler (I used my cutting mat). So First I cut out the ribbon in 4 lengths
I know this is only 3 but the 4th one should be at least twice the length of your longest piece.
Then you take your longest piece and tie a knot in the center and set it aside
next you take your three other pieces and hot glue them into loops
then hot glue them all together
Now they are going to look a little smushed but its ok we will go back fix that later
now you take your longest piece that is not hot glued yet and put the knot in the center of your smallest ribbon loop
then wrap it around and tie a knot in the back and straighten out your ends so they look the same on the front side. Once you get them how you want glue the knot down in the front and back.
Then trim the ends like this so they have a finished look to them (or at least that's what they said in all the videos I watched lol)
Then fluff your bow to your liking
Then hang your bows :) mine went onto our blah staircase (it was blah with just the garland)
Before:
After:
Thanks for reading :)


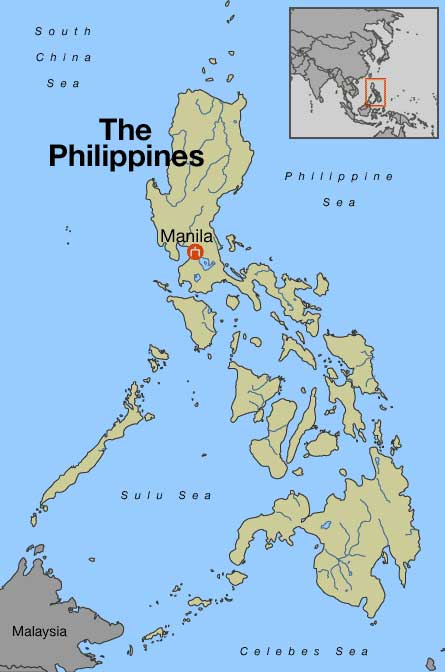

 I have labeled myself a Third Culture Mom because firstly I am a mom and because we (my family) are missionaries in the Philippines and so therefore I am raising my son in a Third Culture Mom.
